
I picked up this piece of....um....well, not really sure what it was, but it's mine now! $1? $2? I don't think I was even listening to the guy since I grabbed a few other things and it was all about $5.
When I saw it I knew immediately what I wanted to do with it. But when I got home, I hid it from the hubs unloaded it and it was buried under other stuff projects.

Supplies:
Wood board (its easier if the painting and distressing is already done by nature.)
Stencils
Paint and brush
How to:
I first sealed the sign with a spray shellac. I wanted to keep the chippy. I lost some chippy just getting it home.
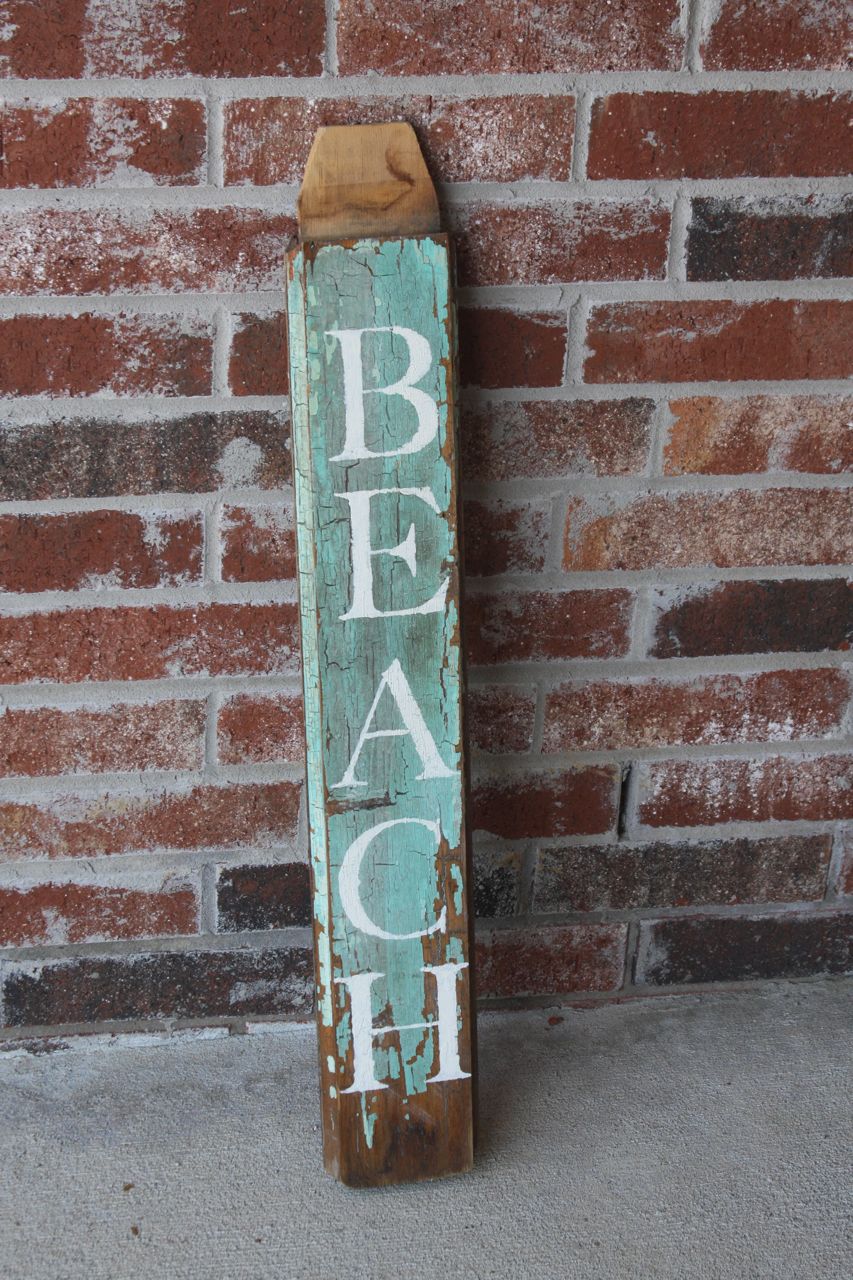
I formatted my "sign" in publisher (you can easily use word too). Set up the document as a 4" x 27" doc and played around with the font, layout and size until I got what I wanted. I then knew what size to set the letters on my silhouette.
Set it up and cut it out of contact paper (probably not the best choice, but I'm kinda stingy with my vinyl).
Placed the letters on the sign. This is one of these "do-as-I-say-not-as-I-do" situations. Use transfer paper. I did not. Placing the letters took five times as long as it should have. I will say it again. Use transfer paper! So much easier.
The contact paper wasn't sticking really well; the vinyl would have held much better. I now understand this and won't be as stingy in the future...especially on chipping shellacked wood.
Paint in your letters. I "pounced" and painted from the edge to the inside of the letter to avoid bleeding under the not so sticky contact paper. The edges are not perfect but it works here. I painted with chalk paint and lightly sanded just the letters.


I think I'm going to drill a hole through that piece on the top to hang it.

It turned out exactly how I pictured it. I love when that happens!
No comments:
Post a Comment