Showing posts with label Signs. Show all posts

Cake pan turned recipe holder {quick tutorial}


A friend found this old weathered cake pan at a flea market for change.  She knew I could do something with it.  The first thing I did was see if it was magnetic....and it was!


I cut some brown vinyl on my silhouette and applied it to the the inside.  Popped a couple of marble magnets into it and voila!  Instant recipe holder.


Name sign {quick tutorial}

This was a fun project that I did "pre-blog."  I moved it (again) and decided I should post it for all to see.

I first had it where it is now, but decided to try it here after I found and painted the hutch.  So I had the hubs take it down and I "set" it in place to make sure that's really where I wanted it.  There it sat for....um....over a year? :)  Lazy are we?  I was tired of it on the to-do list, so the other day I did it myself...which is what usually happens.  Hmmm....wait a second....seems like someone around here knows that!
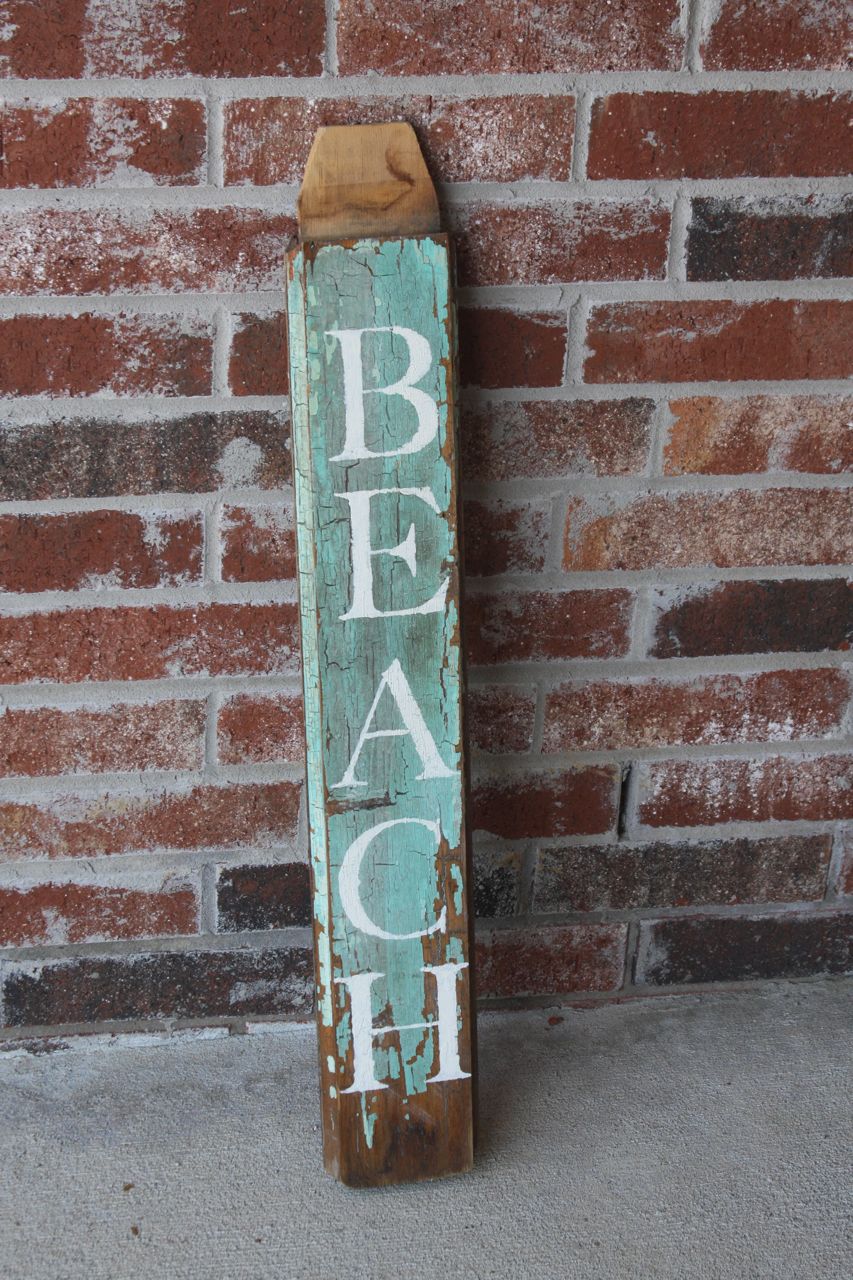
Somewhere between moves, the board warped and cracked, but it adds to the age of it and I love it even more.
It's made from a 1x12, cut down.  I first printed my letters on paper and taped the all together to what it was going to look like.  I then cut my letters in vinyl and figured out the spacing to know how long the board needed to be.  (You could use a transfer method and hand paint the sign.  Sanding off after would make it age beautifully!)

I coated the board in black, then brushed it white, then very lightly and sporadically dry brushed a little, black, brown and red (who knows, there might even be other colors there).  I just grabbed whatever cans I had at the time.  All leftover latex.  Random, I know.  This is before I knew how to sand the age into it.  Which is how I'd do it now.  

Didn't seal it, just waited for it to dry, put the vinyl on a hung it over the window in the kitchen.  It was either there or the playroom and since the tornado playroom is upstairs and I wanted this to be in a place where it would be seen by someone who would actually appreciate it, I chose the kitchen.
This is the view from our living room, but you can pretty much see it across the room when you come into the house.
The wall adjacent on the left is where I'm going to put our giant chalkboard (more on that later) and the wall to the right was my first big furniture piece to paint, and I probably did it all wrong, but its been a couple of years and its holding up just fine!  (Looking at the pictures now, the lone rooster weather vane needs to go....)

"BEACH" sign {quick tutorial}


I picked up this piece of....um....well, not really sure what it was, but it's mine now!  $1?  $2?  I don't think I was even listening to the guy since I grabbed a few other things and it was all about $5.  

When I saw it I knew immediately what I wanted to do with it.  But when I got home, I hid it from the hubs unloaded it and it was buried under other stuff projects.


Supplies:
Wood board (its easier if the painting and distressing is already done by nature.)
Stencils
Paint and brush

How to:
I first sealed the sign with a spray shellac.  I wanted to keep the chippy.  I lost some chippy just getting it home.  

I formatted my "sign" in publisher (you can easily use word too).  Set up the document as a 4" x 27" doc and played around with the font, layout and size until I got what I wanted.  I then knew what size to set the letters on my silhouette.

Set it up and cut it out of contact paper (probably not the best choice, but I'm kinda stingy with my vinyl).

Placed the letters on the sign.  This is one of these "do-as-I-say-not-as-I-do" situations.  Use transfer paper.  I did not.  Placing the letters took five times as long as it should have.  I will say it again.  Use transfer paper!  So much easier.  

The contact paper wasn't sticking really well; the vinyl would have held much better.  I now understand this and won't be as stingy in the future...especially on chipping shellacked wood.

Paint in your letters.  I "pounced" and painted from the edge to the inside of the letter to avoid bleeding under the not so sticky contact paper.  The edges are not perfect but it works here.  I painted with chalk paint and lightly sanded just the letters.     


I think I'm going to drill a hole through that piece on the top to hang it.


It turned out exactly how I pictured it.  I love when that happens!

Painted Sign Tutorial


When I found out I was pregnant with baby #3, I was really hoping for a boy.  At the time, we already had 2 girls, but it wasn't that I didn't want another girl (I ended up with one on baby #4!), it was because I had always wanted to do a nautical themed nursery.  There is something so crisp and clean about navy blue and white.  

I was browsing on ebay one day and came across a sign (similar to the one above) and decided that I would make my own.  I could make it whatever color and size I wanted.

Supplies:
Wood board or MDF (I used MDF 6" x 8' x 3/4")
Paint and brushes
Stencils or vinyl words

How to:
Cut your board to length (this was a stock piece, no cutting! :) and paint it your base color.

Lay out stencils (or hand write if you like your writing) and trace letters.  Hand paint or you could actually do what the stencils were made for and stencil it on (novel concept?).  I don't like to make things easy, so I hand painted.  This was also before I discovered vinyl.  That would have been MUCH easier to do! :)

Draw and then paint any other symbols you'd like on it.

Age it.  There are a few different ways to do this.  If you use real wood, you can sand, stain or glaze it.  I used MDF so opted for "painting" on the age.  I grabbed some acrylic brown and lightly dry brushed it on. I also splattered some of the red and navy on over the top.


Originally I planned on putting something under the arrow, but as you can see, 4 years later it still hasn't happened so what are the chances its going to happen now you think???  

The first room I did for G (said baby boy), I had done a shelf ledge around the room and this sat on the shelf and leaned against the wall.  2 weeks after I finished decorating his room and 4 weeks before his due date, we found out we were moving out of state, so I had to do another room.  This one had to many corners and edges, so I ended up putting this over the window.  

Anyway...a fun little customizable project!  I'll show you our huge name sign soon...

LinkWithin

Related Posts Plugin for WordPress, Blogger...