
 |
| Finished Board |
My office (read: craft room) is upstairs. The ironing board is downstairs. This is a problem. I don't want to lug the board up every time I need it, nor do I want to drag my project downstairs. My husband irons his clothes for work every day (yes, you read that right....I do not iron his clothes. Craft projects: yes. Hubby's work clothes: no. Don't judge. :) He doesn't like the way I iron so chooses to do it the right his way.) Back to my point....the ironing board should stay downstairs as its used every day there. So...my solution??? Make my own ironing board.
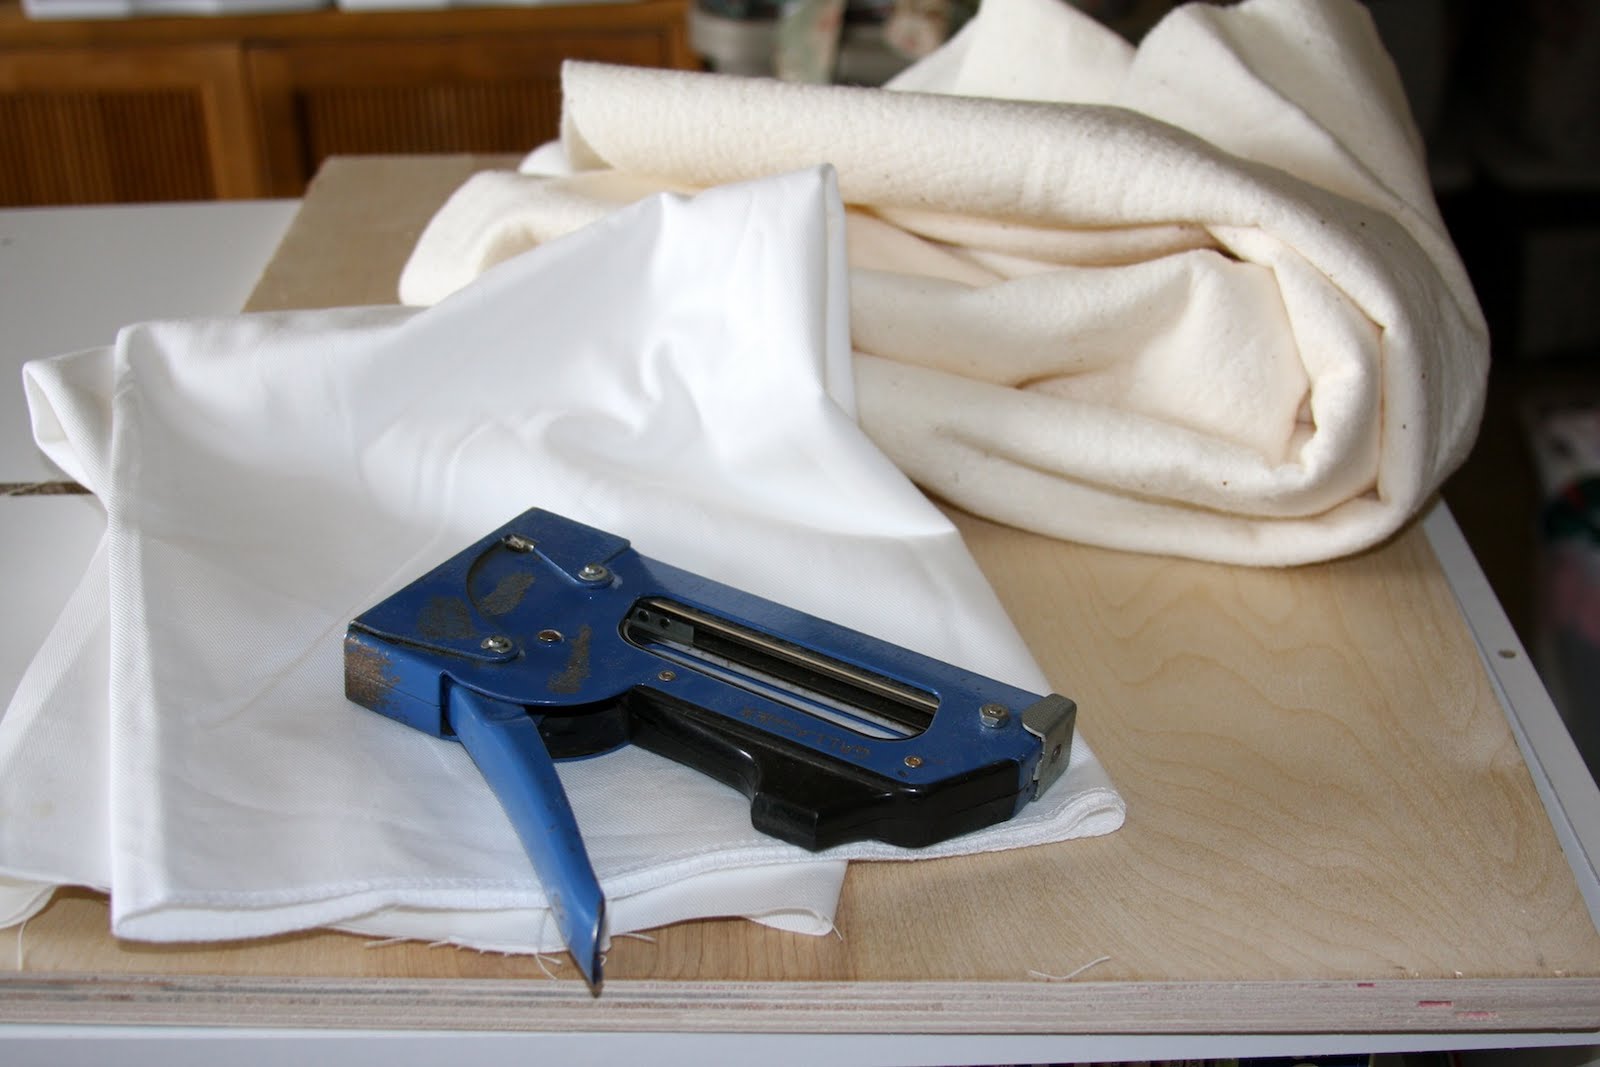 |
| Supplies: Plywood cut to size Staple gun (with staples) Cotton batting (NOT polyester) Cotton fabric for cover |
It was really easy and I had everything on hand, so it was FREE! (Love that!) Here's what ya do. Cut your batting about 2 inches bigger (all around) than your plywood. So if your plywood is 24 x 36, cut your batting 28 x 40. Lay it down on the counter and center your plywood on top. Pull up the corners and side and staple them in. Pull rather tightly, but don't tear it.
 |
| Back of batting covered board |
 |
| Front of batting covered board |
Cut your cotton fabric about 3 inches bigger (all around) than your board. Using above dims you'll cut it 30 x 42. Use your almost done ironing board to, well, iron your fabric!
Then place the fabric right side down on your work surface, center your batting covered plywood on top and start stapling your fabric to the backside. You want to pull pretty tight with this. I started with the 4 corners, then did the sides, working around in a circle. I tucked my fabric ends under before stapling, but its the bottom so no one is going to see it so you could save some time skip this step.
 |
| Finished Back |
 |
| Closeup of bottom |
I used a fabric that I had on hand (the bottoms of some curtains I hemmed for G's room) but would have loved to see a bright print on this. White was probably not the best choice, but I figured it would do for now, and I can easily change it in the future....but we all know that won't happen!
Anyway...there ya go. The hardest part was getting my hubby to cut the board to size. (Lowe's or Home Depot would probably do it much quicker, and for free.)
|
| Finished Board |
Yes, that is a plywood desktop you see under the ironing board. Painting it is another project for another day....

No comments:
Post a Comment